I remember when I played Dead Rising 1 for the first time. A good friend of mine brought it over once when we hung out and he let me play on his file. I'd already been a zombie fan for awhile, having loved movies like Shaun of the Dead and having a copy of the "Zombie Survival Guide". Needless to say, I was very quickly hooked. I have many fond memories spending hours whacking zombies with anything and everything that I could get my hands on: bats, chairs, rocks, trash cans, benches, CDs, plates, fish, bottles, swords, and even jewelry. It was a zombie fan's ultimate dream, and it's now surprise that the game was a big hit that spawned two sequels, and even a port onto the Wii (which I haven't played, but based on what I've seen looks mediocre and just weird). Because of my love for this game series, I have chosen it to be the subject of my first WCBSA! I won't focus too much on the story, but there may still be spoilers.
The premise of Dead Rising was pretty simple: You play as freelance reporter, Frank West, who has come into the town of Willamette, Colorado, after getting a tip that something big was happening there. Despite being introduced as a "nowhere little town", Willamette sports a shopping mall of impressive size, and it is here that Frank is dropped off via helicopter, the pilot of which promises to return in three days. After meeting a strange man on the roof of the mall by the name of Carlito, Frank soon learns that the town has been overrun by zombies. He spends the next three days trying to discover the truth while also trying to stay alive.
 |
| He's covered wars, ya know. |
As I mentioned, the big selling point was that essentially everything is a weapon in this game. Whatever isn't bolted to the ground, Frank can utilize against the hordes of zombies throughout the mall. When playing this game for the first time, I literally ignored the main storyline for hours just because I wanted to see just how much stuff I could use. "Found out what's causing all these zombies? Forget that! I absolutely need to find out how many CDs I can throw at a zombie before I finally manage to kill it. Hey! I bet I can knock down a bunch of zombies with this bowling ball. Oh! I did it, and I got an achievement! This is the greatest game of all time!"
But fighting zombies isn't the only thing to do. Throughout the game, you're given missions by a fellow named Otis, who was a janitor for the mall. He communicates with you via a walkie talkie and tells you about things he's witnessed through the security cameras in the security room, which is your main base of operations. Most of the times, he'll tell you about people who are in danger and need help. These Survivors can be escorted back to the Security Room for Prestige Points, which functions basically as Experience Points; they basically level Frank up, unlocking higher stats and abilities. Occasionally, though, Otis's calls will lead you into meeting one of the game's Psychopaths, human characters who have gone insane during the zombie outbreak. Throughout the game, these guys serve as bosses for Frank to contend with. For the most part, the Survivors and Psychopaths (except when required by the story) are optional. The missions that Otis gives can expire after some time, and there's usually no consequence for missing them, except for missing out on PP, as Survivors and Psychopaths give a lot of PP when you finish dealing with them. Failing to do a Story Mission in the required time means you fail the storyline completely, making it impossible for you find the truth of the outbreak. However, even if you fail the storyline, you're still allowed to play throughout the mall. The game does not end until the third day when the helicopter returns.
Dead Rising 1 had three modes: 72 hour mode, which is basically the base game; Overtime mode, which you get by completing all story missions in 72 hour mode; and Infinity Mode, which you get by completing Overtime. Overtime mode is basically just a continuation of the story when the helicopter crashes at the end of 72 hour mode (assuming you completed all the story missions). But then there's Infinity Mode, or, as it should have been called "Survival Mode". Infinity Mode puts the player back into the Willamette Mall, but now the health meter slowly declines over time, and you must search for food to replenish it. However, food items are no longer unlimited as they were in 72 hour and Overtime. This means, you have to exercise more caution when fighting and conserve your healing items. Survivors and Psychopaths spawn through out the mall at certain intervals, and all of them are hostile. You get additional healing items for killing them, though, with Survivors dropping only moderate goods while Psychopaths drop better stuff. There was no indication when the Survivors and Psychopaths would spawn in Infinity Mode, so it gave you a reason to explore and search. But it was also very dangerous because Psychopaths would spawn in areas you didn't actually fight them in during Overtime mode. For example, one notable Psychopath, Sean, the leader of a cult of crazies in rain coats, fights you in the Mall's movie theater, which his flock have turned into their church. However, in Infinity Mode, he fights you in Wonderland Plaza, a completely different area on the other side of the mall. I was literally running through Wonderland Plaza and, for no reason, I rotated the camera to check behind me while I was going. To my surprise, a few feet behind me was Sean, chasing after me with his sword.
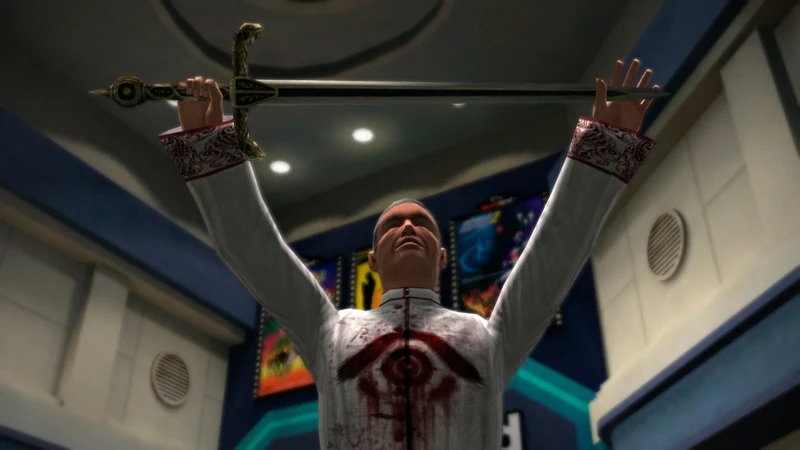 |
| Sean |
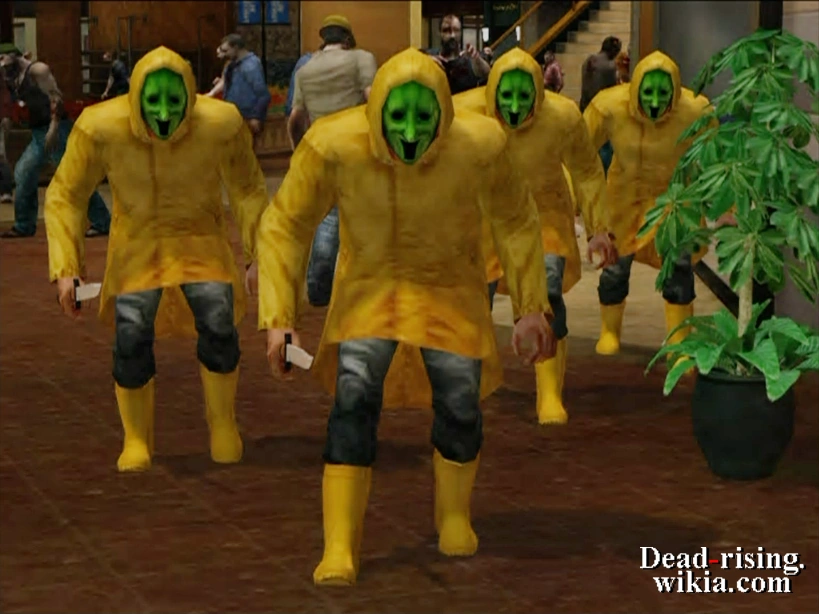 |
| Sean's Followers |
While Dead Rising was a great game, it was not without its flaws. One of the most famous annoyances is communication with Otis. Whenever he calls on the walkie, which can be at any time, you're defenseless as you listen to his description of what he's seen in the monitors. If at any point during his speech you get hit or otherwise interrupted, he will call back a few seconds later and actually scold the player for hanging up on him. Then, he will start talking again, starting over from the beginning, meaning you have to again wait for him to stop talking all while trying to keep zombies away from you. This is was basically a similar problem that gamers had with Navi from Ocarina of Time, and it caused many to hate Otis.
Another very annoying thing is the bad A.I of the Survivors. Most of the survivors can't fend for themselves, their path finding programming bugs out causing them to walk into walls, and they're generally a huge pain to get anywhere. You'll constantly be going back to save some who got nabbed by a stray zombie or try to get a straggler caught up. Even more annoying, as well as baffling, most female Survivors cannot be given a weapon. Usually, all you can do with them is hold their hands, making it so you can guide them through hordes. You can only hold the hands of two girls, though, so if you have more than that, or if there's another survivor you need to carry, then that makes them even more difficult to escort. Unfortunately, escorting Survivors is the best way to earn PP, so the game sort of forces you to deal with them.
Other problems are the inability to strafe while using guns, and the fact that the game only allows one save file. So, if a friend wants to have their own file, they can't, so they have to be on your file.
So Dead Rising was a huge success. It went without saying that a sequel was required. There were a lot of requests for content in it: bigger area, more weapons, and, of course, co-op play. And, finally, in 2010, we were introduce to Chuck Greene and Dead Rising 2.
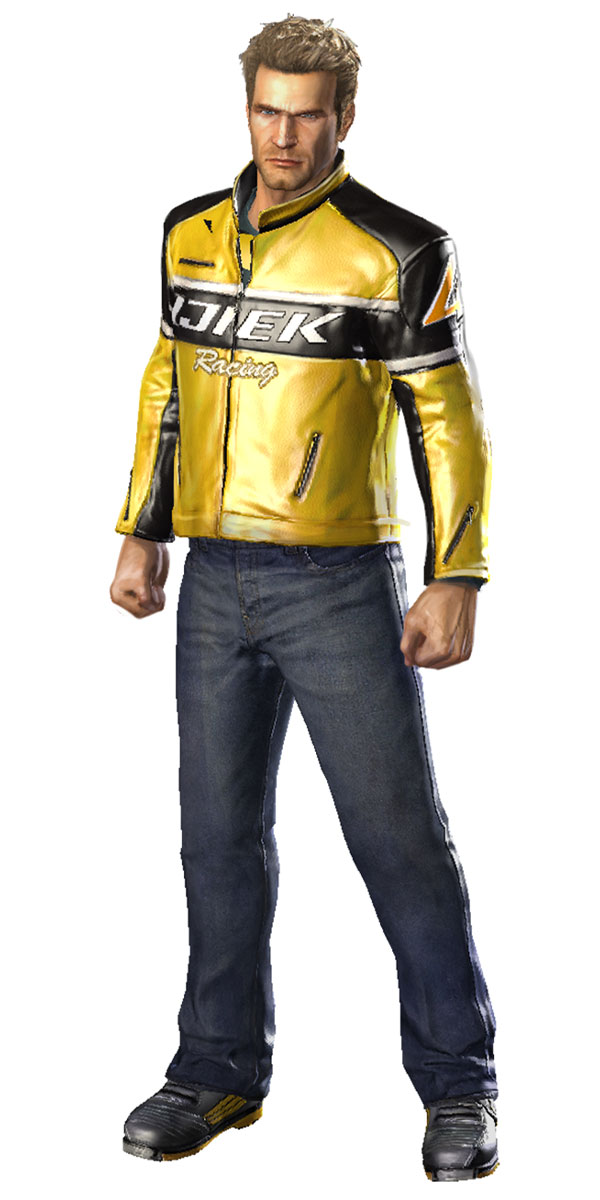 |
| He hasn't covered wars, ya know. |
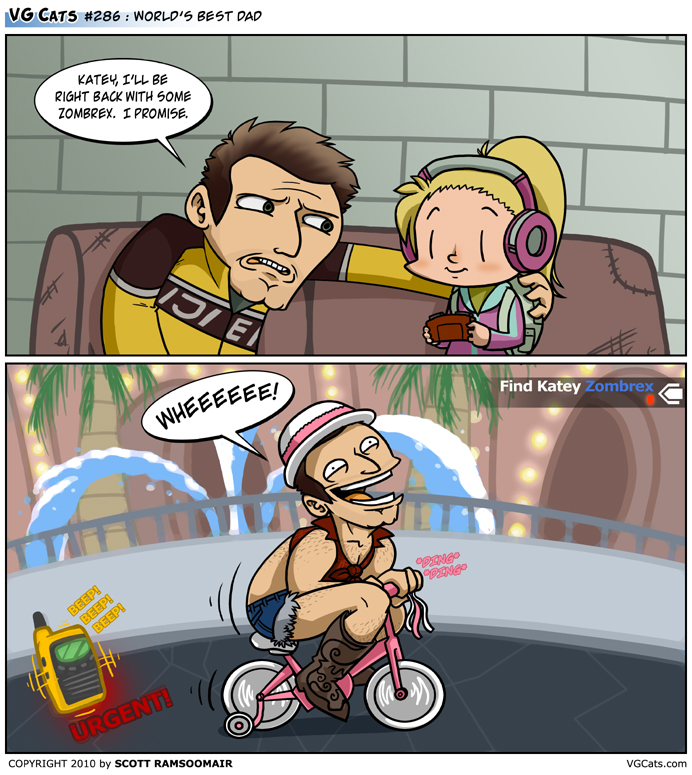
Chuck is a motorcross champion who lost his wife during a zombie outbreak in Las Vegas (almost wrote "New Vegas", ha). The game begins with him competing in a game show in Fortune City, called "Terror is Reality", which is hosted by a man named Tyrone King or TK. Chuck's competing is a way for him to earn money to get a drug called Zombrex for his daughter, Katey (Katie?). Zombrex (which we witnessed the origin of in Overtime mode of the first game) impedes the zombification process for 24 hours, requiring daily doses.
This is important, because it is a major feature of the game. Like the first game, you have three days to complete the main story (this time, the military will fire bomb the city in that amount of time), but, in addition to that, you also must make sure that Katey Greene stays alive. This means, you must be on the look-out for Zombrex, which is hidden throughout Fortune City or can be acquired through some missions. Like Dead Rising 1, you can fail the story missions and still play around the game. Oddly though, you can also do this if Katey dies. There are no benefits to keeping Katey alive, other than getting the good endings for the game. So, basically, Katey becomes a redundant mission that makes it harder to just goof around a bit.
That aside, though, Dead Rising 2 featured improvements. You could finally move while aiming, and even better, the A.I of the Survivors was much better (in my experience, at least). All Survivors can take weapons, and they generally can break themselves out grapples from zombies, making it much less annoying to have to escort them. Melee combat was also given improvements, giving players quick attacks and slower, but more powerful attacks.
Once again, the big gimmick with Dead Rising 1 was that anything was a weapon. So, how could they expand on that for the sequel? Obviously just adding more miscellaneous weapons lying around wouldn't do the trick. So, Dead Rising 2's biggest innovation were the Combo Weapons. Take something like a useless box of nails and a baseball bat and put them together, and you've got the Spike Bat. Players can discover combinations either by just trying random things, or by finding Combo Cards, which basically tell you what is needed to make said weapon. You can only make weapons in Fortune City's Maintenance Rooms, which are found through the city.
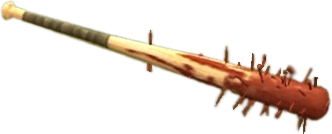 |
| Spike Bat |
On the surface, the advent of the Combo Weapons seems like a brilliant idea, and, to be fair, it is fun trying all of them out. But once you do, you start to realize quickly that most of them are pretty useless. If you've played Dead Rising 2, how many times did you build the Air Horn? Or the Hail Mary? Or the Freedom Bear? Or the Blitzkrieg? Probably once or twice, just because you were goofing around and wanted to try it. There are very few actually practical Combo Weapons. The iconic Paddle Saw, which Chuck wields in box art of the game, is very slow and can be difficult to use in a horde of grabbing zombies. Think about how bad it is against a Psychopath. Most of the throwing combos can only be used once, making them largely garbage as to have enough to be practical would take up too much space in your inventory. As a device to keep players...well, playing, the Combo Weapons are a neat idea, but when most of them are really only good if you're screwing around and not when you actually could use a special weapon against a tough enemy, they just become a waste of space. Some combo weapons actually less effective then the original weapons that they're made from. A prime example of this is the Boomstick, which is made from a Shotgun and a pitchfork. Aiming with the Boomstick only makes Chuck attempt to throw it rather than aim it like a gun, so you cannot fire it. It can be used to slash at zombies in an arc, which is not done very effectively. The heavy attack, Chuck stabs one zombie, lifts it up, and fires the gun. All of this means you'd have been better off just using the shotgun on its own.
Another notable change in Dead Rising 2 was a rise in quirkiness. The first game had its quirks: random weapons lying around in absurd places, being able to dress Frank up in women's clothing, etc. But, in Dead Rising 2, this quirkiness escalates quite higher. Chuck can ride a tricycle, play on a water slide, get drunk, wear an increased assortment of goofy hats and attire (included a European thong-swimsuit thing), and he often makes lame puns after fighting Psychopaths. What do this features add to the game? Nothing, except short lived chuckles, but I can't help but feel that Dead Rising 2 took the quirkiness too far.
 |
| This man has his priorities straight |
Even the Psychopaths are pretty goofy. One Psycho is a mascot who is mad because he's a dork who finally got a date, which the zombies ruined. Another Psycho is an obese pervert who hasn't been able to have sex. Another are two aspiring magicians who keep killing assistants during their shows due to their ineptitude. Another is a cop with a humorous inferiority complex. It causes the game to lose some sense of realism that the first one had. It makes the Psychopaths less like people who snapped under the pressure, and more like just generally bad people who use the situation to do evil things. In the first game, one Psycho was a store manager determined to protect his store at all costs. Another was a clown who witnessed his audience eaten. Another was a gun store owner with trust issues. A war veteran who is stuck in a Vietnam flashback brought on by the lose of his grand daughter. Dead Rising 1 had a group of family member sniping innocent people to survive, with one of them expressing reluctance to do so, causing tension in the group. Dead Rising 2 had four rednecks sniping people pretty much because they're stupid, stereotypical rednecks fightin them damn lib'rals (should I mention that they were border patrol guards too?).
Dead Rising 2 wasn't bad. But, for me, it just wasn't the same as the first game.
But, in 2013, came Dead Rising 3, with yet another hero, Nick Ramos.
 |
| He's just a mechanic, ya know. |
Dead Rising 3 changed a lot of things.
First, you no longer escort survivors to a "Safe Room", which was what you spent most of your time doing in the other games to get PP. Instead, any Survivors who join you become part of your Posse, and they will travel with you to assist you. It's a neat idea, but I don't feel it was necessarily executed very well. Up until this game, Survivors only existed as a means to get PP to upgrade your character. You weren't really supposed to take them with you where ever you went. You only gave them weapons so they could defend themselves until you got them somewhere safe. The Survivors in Dead Rising 3 largely act the same way as the previous games: they follow you around, you can give them food to replenish their health, you can issue them commands, etc. But, now, some survivors can join your party and can be recruited into your team via a bulletin board found in "Safe Houses" that are all over the map. The problem is that the Survivors still behave as if they're being escorted, and not members of your team or Posse. They can't heal themselves, they can carry only one item (which you have to give them), and they can't level up any stats of their own. If you have more than one person with you, you must find a vehicle big enough to accommodate them or walk the whole way everywhere. And, worst of all, you will have to stop and wait for them if you get ahead, because, if you go too far, they'll leave you and you'll have to find a safe house to get them again.
Next is that vehicles are basically Combo Weapons now. Nick can combine certain vehicles together to make a bigger, deadlier car. I'll take about this a little more later.
The Leveling Up has been revamped as well. When Nick levels up (via PP), he gains Attribute Points which which can used to upgrade traits such as Life (health), inventory space, melee prowess, gun prowess, agility (speed) etc. The other games had similar features, but would often upgrade traits following a pre made list. For example, you may only get a speed boost for Frank when you hit level 7 and then not again till level 43, forcing you to cope with Frank's slowness for a long time. Here, you can choose when to upgrade anything, giving you more control over Nick's abilities. Also, Nick can sprint, which makes him easily the fastest character.
There is no designated "Safe Room". In the first game, there was the Security Room, the second game the bunker. Now, there are "Safe Houses", which you can find in various locations. Each Safe House has lockers which allows you to select attires and weapons that you've found while playing the game. This allows you to select Combo Weapons that you've built without having to find materials to actually build them. Also, you can download a wide variety of DLCs which grant you more weapons, like a mini gun that allows you to take down hordes of zombies.
Dead Rising 3 is essentially one huge map. The various areas you can go to are all connected by a highway, and you can reach them without having to stop for a cutscene. This is a welcome transition from the first two games, which involved a lot of traveling from area to area, often having to go through many loading screens just to get where you're going.
Finally, the Combo Weapons are back in full force. Instead of Combo Cards, now the player looks for Blueprints scattered all over that tell how to build a new weapon or car. A few improvements are that Nick can build Combo Weapons anywhere, rather than having to find Maintenance Room, and that certain items can be used more than once. For example, when crafting a molotov in Dead Rising 2, you'd make only one molotov, where as, in Dead Rising 3, you craft more, allowing you to use more. And now, Combo Cars, as mentioned, are a thing. It'd take too long to go through all of them, and in general, the Combo Weapons function better here. But, there's still the problem of, you're not really going to use most of them very much, save for the few practical ones such as the Grim Reaper, the Iron Edge, Spike Bat, etc. There are more useful ones than there were in Dead Rising 2, but a lot of them are only good for screwing around. The Combo Cars sort of suffer the same problem, but to a lesser extent. There are less of them, and you'll generally only need them when traveling from town to town, as, usually, once your in one town, there are many barriers and obstacles that prevent you from driving around fully. And since there's usually an abundance of normal cars that will get you around just as fast without having to stop and combine them or finding the other car needed to complete the combination, you very well may end up just using the normal cars more than the combo ones.
Dead Rising 2, as said, was notably more quirky than the first game. Dead Rising 3 sort of goes in the middle between the the other two games. It isn't as goofy as Dead Rising 2 (you can't ride a tricycle anymore while wearing a beer hat), but it does have moments of it. The most notable example, in my opinion, of this are the Psychopaths, some being modeled after the Seven Deadly Sins. For example, one of them, representing gluttony, is a very morbidly obese woman who is confined in a motor scooter and constantly farts as she threatens you. Another is a lazy guy who sends tiny helicopters at you, and eventually dies from a heart attack when you finally physically reach him (he also farts as he dies).
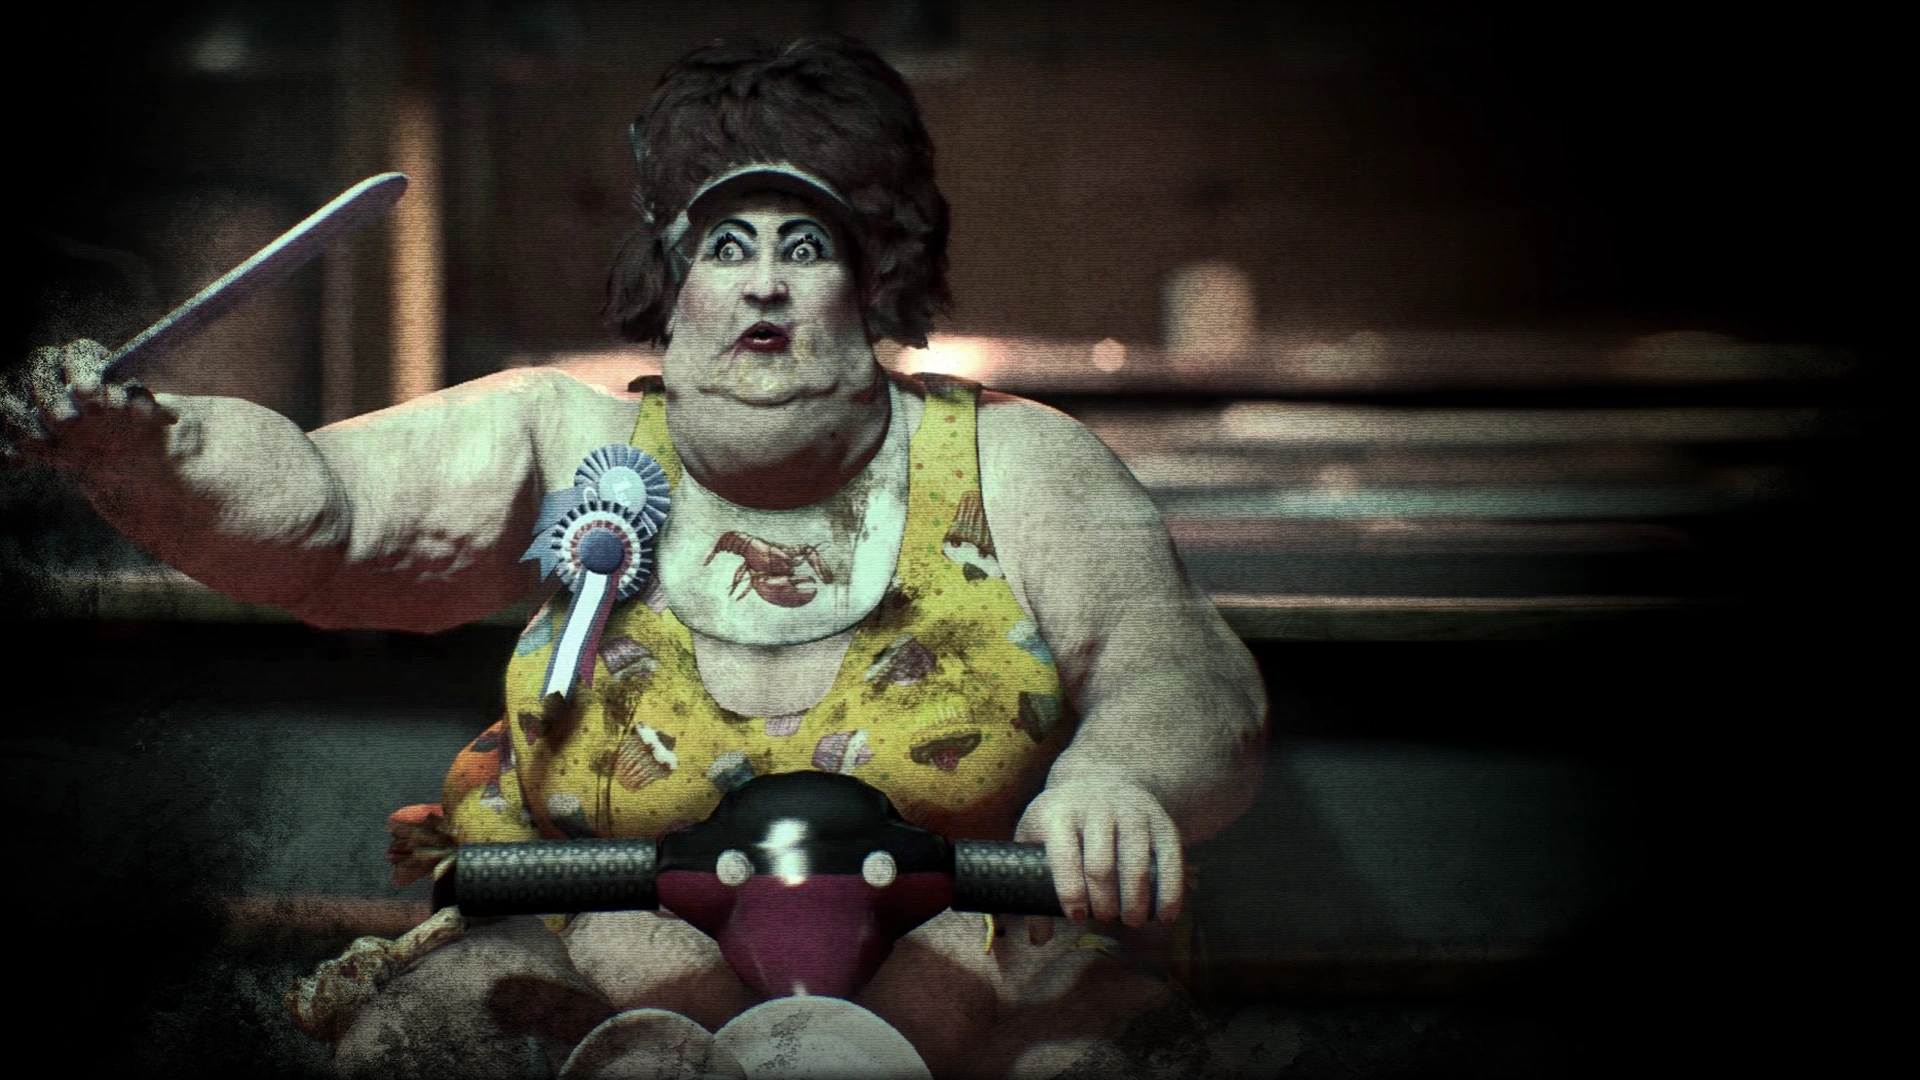 |
| "Are you calling me FAT!?", "That'd be putting it kindly!" |
Once again, all of the Psychopaths are "over-the-top" stereotypes. You really can't imagine these people as ever being sane, average people, where as the Psychopaths in Dead Rising 1, you could more easily see it with most of them. They were just people who had gone nuts from seeing their lives be destroyed. With Dead Rising 2 & 3, most of them appear as if they were already nuts, and the outbreak just made it worse. It's just something that sort of annoys me. Why did the Psychos have to be so over-the-top and stereotypical? It just seemed less realistic and just overall goofy. The goofiness doesn't make the games bad, it just makes them harder to take seriously. This may have been the point, but it seems like a rather stark comparison to the first game which, for the most part, seemed to take itself much more seriously than the rest of the series.
Dead Rising 1 seemed more genuine, and felt like it had less gimmicks. Dead Rising 1 was simple, you didn't have all the Combo Weapons or a whole bunch of vehicles and guns to choose from. You had five default guns in Dead Rising 1; The pistol, the shotgun, the sniper rifle, the submachine gun, and the rare assault rifle. It meant limited options, but all of the weapons seemed to be more valuable. The guns weren't that effective against the zombies. There were too many of them. You saved those for the Psychopaths. You either just ran through or around the zombies, beating them with a solid weapon from time to time. There wasn't a big, huge, monster of a gun that allowed you to blow away hordes. Frank was not that overpowered. Frank actually had to be careful. The only overpowered weapon he had were the small chainsaws he got from Adam, the crazy clown.
All of the Dead Rising games are fun to play, there's no denying that. Dead Rising 2 & 3 arguably had more things to play with, both had better A.I, and both had Co-Op. But Dead Rising 1 was just as fun, and it managed to do so without all of that. In Dead Rising 1, the ability to utilize everything as a weapon complimented the whole game and it game a very real sense of survival. You were fighting Steven in the supermarket, and you ran out of bullets. You don't have many weapons. So, you chuck a cash register at him. Then, you having exhausted that, you look around for something a bit more practical. Aha! The store's deli! There has to be a knife there! You then pass a display that's been broken during the fight. Wait? Fish? I can use fish as a weapon? Ha! I gotta do that! Wow, that actually worked! But it didn't last very long. Let's get that knife now.
There was a greater feel of "improvised combat" that made the first game so great. Sometimes you just literally had to use anything you could find because, sometimes, you didn't really have that many options. You used more of everything because you had to. In Dead Rising 2 and 3, it's all about the combo weapons, which are more powerful. They completely overshadow the other weapons. Why use a machete when you could use the Spike Bat? Why use a shotgun when you can use the Z.A.R? How many benches did you throw in Dead Rising 2 and 3? How many potted plants? Probably not that many, because you were too busy mowing them down with your mini gun, the rail gun, or blowing them up with other types of Combo Weapons.
The biggest problem I have with Dead Rising 2 and 3 is that the games seem to built more towards screwing around. You have several weapons that allow you to experiment in how you kill zombies. But if you ever wanted to do some of the story, you probably didn't use many of the combo weapons, just the few that were practical. In Dead Rising 3, the Mini Gun can blow through many zombies in seconds, but it's much less effective against human characters, even those who aren't bosses. There are biker guys in Dead Rising 3 that spawn every now and then. You literally have to hold down the trigger of the mini gun to take one out, whereas a few swings with a good bludgeon combo weapon can take them down. It creates a weird disconnect: why is a bludgeon more effective against a person than a fucking Minigun.
Despite the fact that both Dead Rising 2 & 3 are all about screwing around, only Dead Rising 1 appears to have anything like Infinity Mode. And that's bizarre, as an unlimited sandbox mode would be gold in Dead Rising 3, where there's so many weapons to play around with. I've had more fun goofing around in Dead Rising 3 that, nowadays, I don't even bother with the story or any of the missions. The only reason I did in the first place was to get PP and Attribute Points. Dead Rising 3 would almost have been better served as just a sandbox game where all you did was just goof around without being hassled by missions and story.
In Dead Rising 1, you had Infinity Mode. And, even during the regular story, you were more likely to use the same weapons that you used to goof around during the story campaign. The whole idea of using anything and everything complimented the whole game, not just the aspect of goofing around.
So, in brief, I feel the first Dead Rising game was among the best. The other two were good, and were fun to goof around in, but they seem to overstep themselves when trying to expand on the original Dead Rising's idea of improvised combat. They give you so many things, but so many of the things are only fun while screwing around, and won't be much use during the story mode. The other games are much more zany and silly, making it harder to take them as seriously. There are a lot more cliches in the other two games; greedy business people, corrupt politicians and military men, where the first game had a young man getting revenge after a government funded experiment failed. The games had to become more zany so that the number of crazy combo weapons and vehicles, not to mention attires, made sense within the universe of the game. You couldn't have Frank using the same kind of weapons in the first game, because the first game was more realistic. It would be too much to have Frank throwing a football with grenades duct tapped to it, or a paddle with chainsaws also duct taped to it. The Combo Weapons resemble insane weaponry that you'd see in intentionally goofy movies like Sharknado. They didn't belong in the first game.
So, from my view, what can be said about Dead Rising? The first game is the best, with its innovation of everything as a weapon working well through out the game. The second and third game are a lot of fun, but inevitably go too far trying to expand on the first game's improvised combat. They give you more options, but most of those options are only there so that you spend more time playing the game to goof around with the zombies rather than when you need to advance the story or fight a Psychopath. The new weapons overshadow the original concept of using everything, making you favor the combo weapons rather than everything else. And with all of this stuff to goof around with, you don't really care about the story or the missions, despite that only Dead Rising 1 had an infinity sandbox mode.
If you like the idea of beating zombies up with anything, but enjoy a story, stick to the first game. Otherwise, you might be better off with the second or third game.
 |
| STOOOOOOOOOOOOOOOOOOORE! |